Interact with your Wallet
Add an Account
There are two options to initialize your wallet by adding an account:
- Recover Previous Wallet (if you have an existing Aion Desktop Wallet with the corresponding mnemonic and password)
- Create New Account (new Aion Desktop Wallet user)
Recover Wallet
- Input mnemonic
- Input corresponding wallet password
Create a New Account
- Select an account name (this can be edited later)
- Select a password
- Confirm chosen password
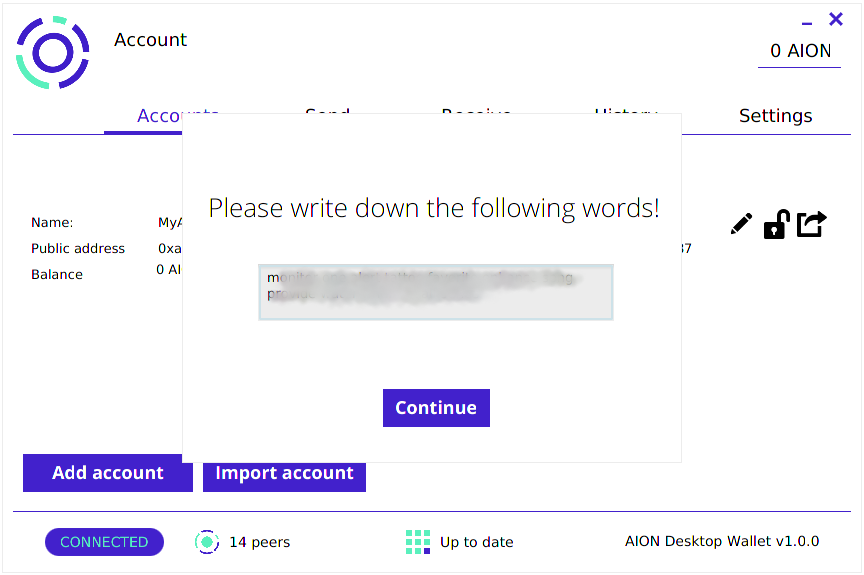
- Save and backup the seed mnemonic that appears - you will need it if you wish to recover your wallet later:
Note
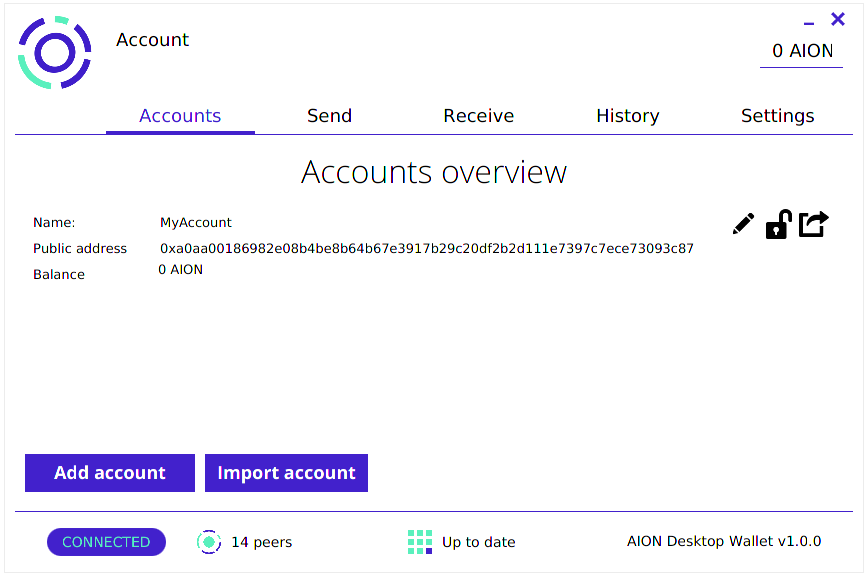
Clicking on "Add account" later will automatically generate an account in your wallet. These accounts cannot be removed from the wallet.
Import Account
There are two options to import an existing account:
- Import using a keystore file and password
- Import using a private key (you will be asked to create a password for it)
Remember Me
There is a "Remember Me" option when importing accounts. Selecting this will display your imported accounts even if you re-launch your wallet. If this option is not selected, you will have to reimport these accounts if you re-launch the Aion Desktop Wallet.
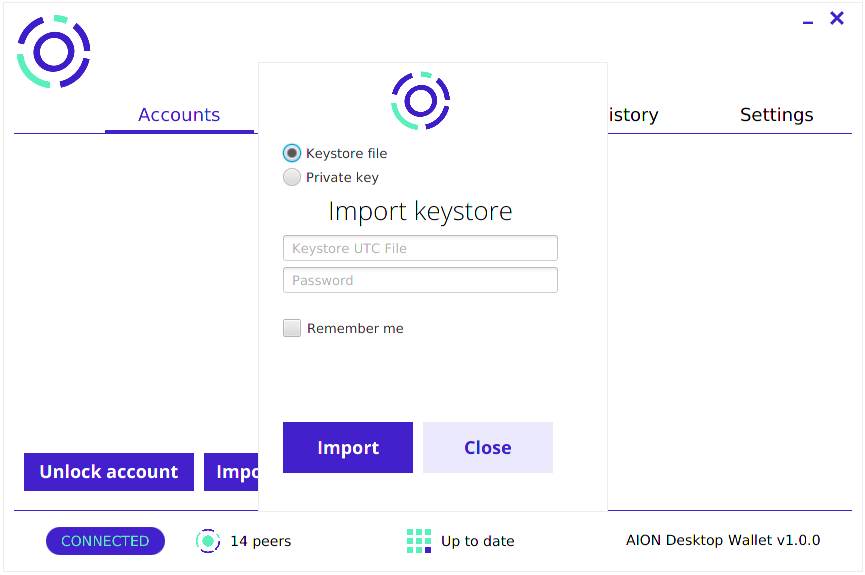
Import with Keystore File
- Click on the keystore space, and navigate to select your desired Keystore UTC File
- Input corresponding keystore password:
Import with Private Key
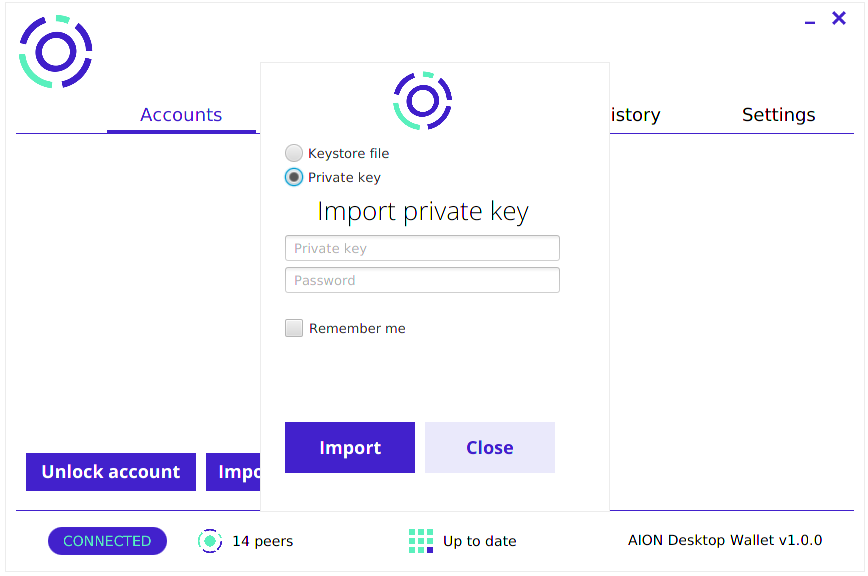
- Input your private key (tutorial to obtain private key here)
- Create a password to use to unlock the account (Note: input this password correctly, currently there is no way to change this password)
Export Account
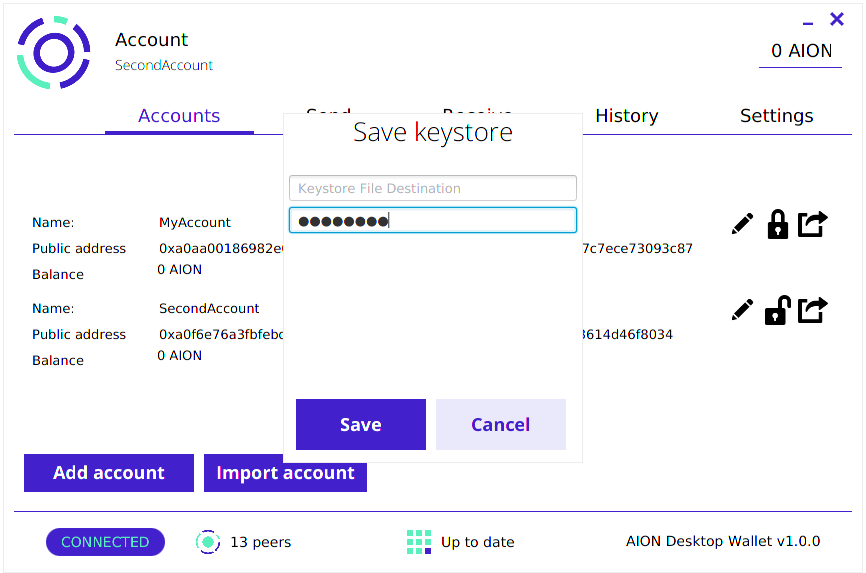
You may wish to save your accounts created on the Aion Wallet elsewhere. In this case, you will need to export the wallet (using the icon right of the accounts listing) and save the keystore file in your desired location. Note that the password you input here will be the new password to access the keystore file:
Send AION
You have the option to transact AION and send it to another wallet. Note that this wallet must accept native AION coins.
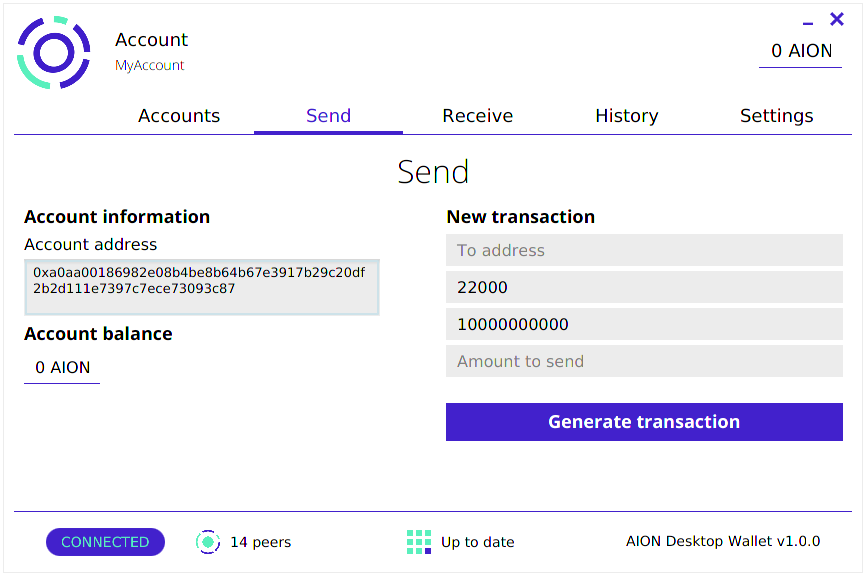
- Make sure the account you wish to send AION from is unlocked under the "Accounts" listing (click on the lock icon to unlock an account)
- Navigate to the "Send" option in your wallet, and verify your account information on the left
- On the right panel, input the address you are sending to, and the amount to send in number of AION
- Click on "Generate transaction" to send the AION, and you will be notified when the transaction finishes
Handling Errors
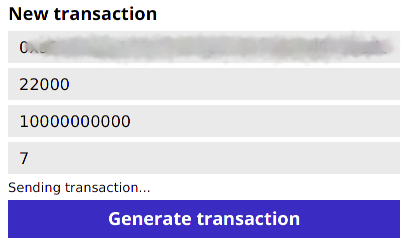
Sending transaction...
Make sure that your Aion node is fully synced. You transaction will not occur unless it is up to date.
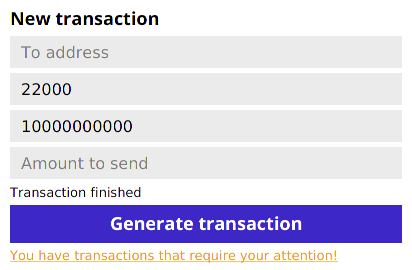
You have transactions that require your attention!
The transaction failed, click on the notification to open a pop-up where you may re-submit the transaction.
Receive AION
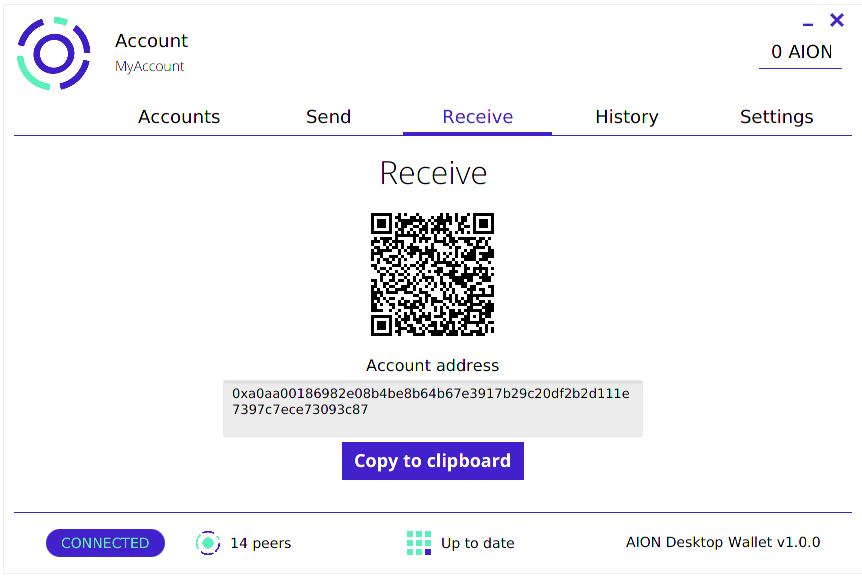
Under the "Receive" tab of the desktop wallet, you can send your public wallet address by:
- scanning the QR code to display the wallet address
- copying the address to your desktop clipboard
Updated over 7 years ago
